This comprehensive guide and easy kitchen tips will help you lean how to freeze gravy so your leftovers don't go to waste!
Email me the recipe!
Plus get all our new recipes too!
Related post: How to make Guinness Stout Gravy!
Ever wonder if it's okay to freeze gravy? It's not a dumb question, in fact people ask Google thousands of times a day, "How to freeze gravy?"
This topic is especially popular after the holidays when we are faced with the daunting task of figuring out what to do with all of our leftover roasted meats, casseroles, and of course-turkey gravy! The good news is, yes! It's a great idea to freeze gravy for later use.
Gravy is a delicious and versatile addition to any meal, but sometimes you end up with more than you can use at once. Freezing homemade gravy is a great way to make sure you always have some on hand, but it's important to do it properly to maintain the quality and flavor.
Before we jump into the best ways to freeze gravy, we first need to talk about what gravy actually is.
What is gravy?
Gravy is a sauce made by thickening the juices, pan drippings, and fat that from meat during cooking process. Excess fat is usually poured away and then the juices are typically mixed with flour, butter or fat, and a liquid such as broth, milk, or wine. The mixture is then simmered and stirred until it thickens into a sauce-like consistency full of rich flavor.
The most common types of American gravies are: brown gravy and white gravy.
Brown gravy
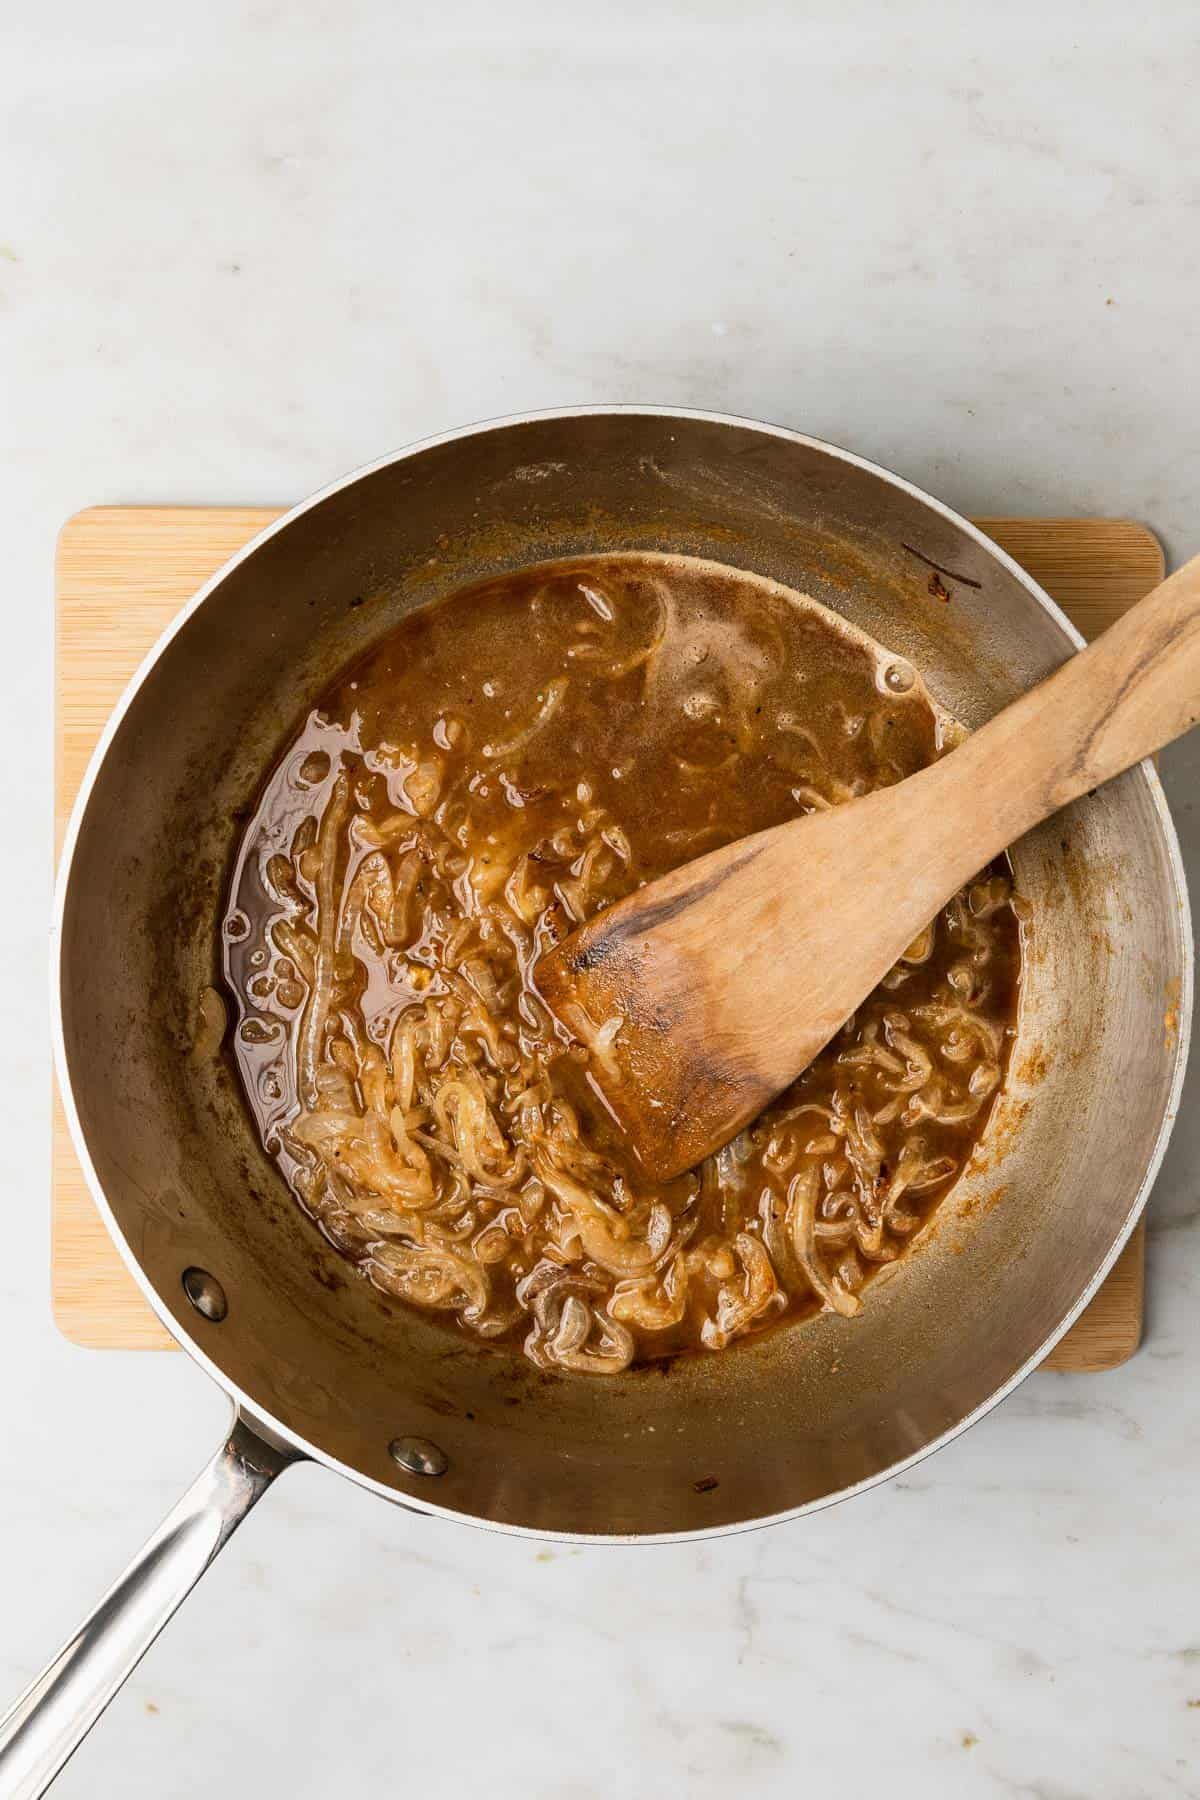
This kind of gravy is made from roasted or fried meats like beef, chicken, and turkey. The drippings and juices can be simmered with vegetables like mushroom and onions for extra flavor, then it's thickened with wheat flour or corn starch. This type of gravy can be made into a homemade beef gravy, Thanksgiving turkey gravy, or chicken gravy.

White gravy
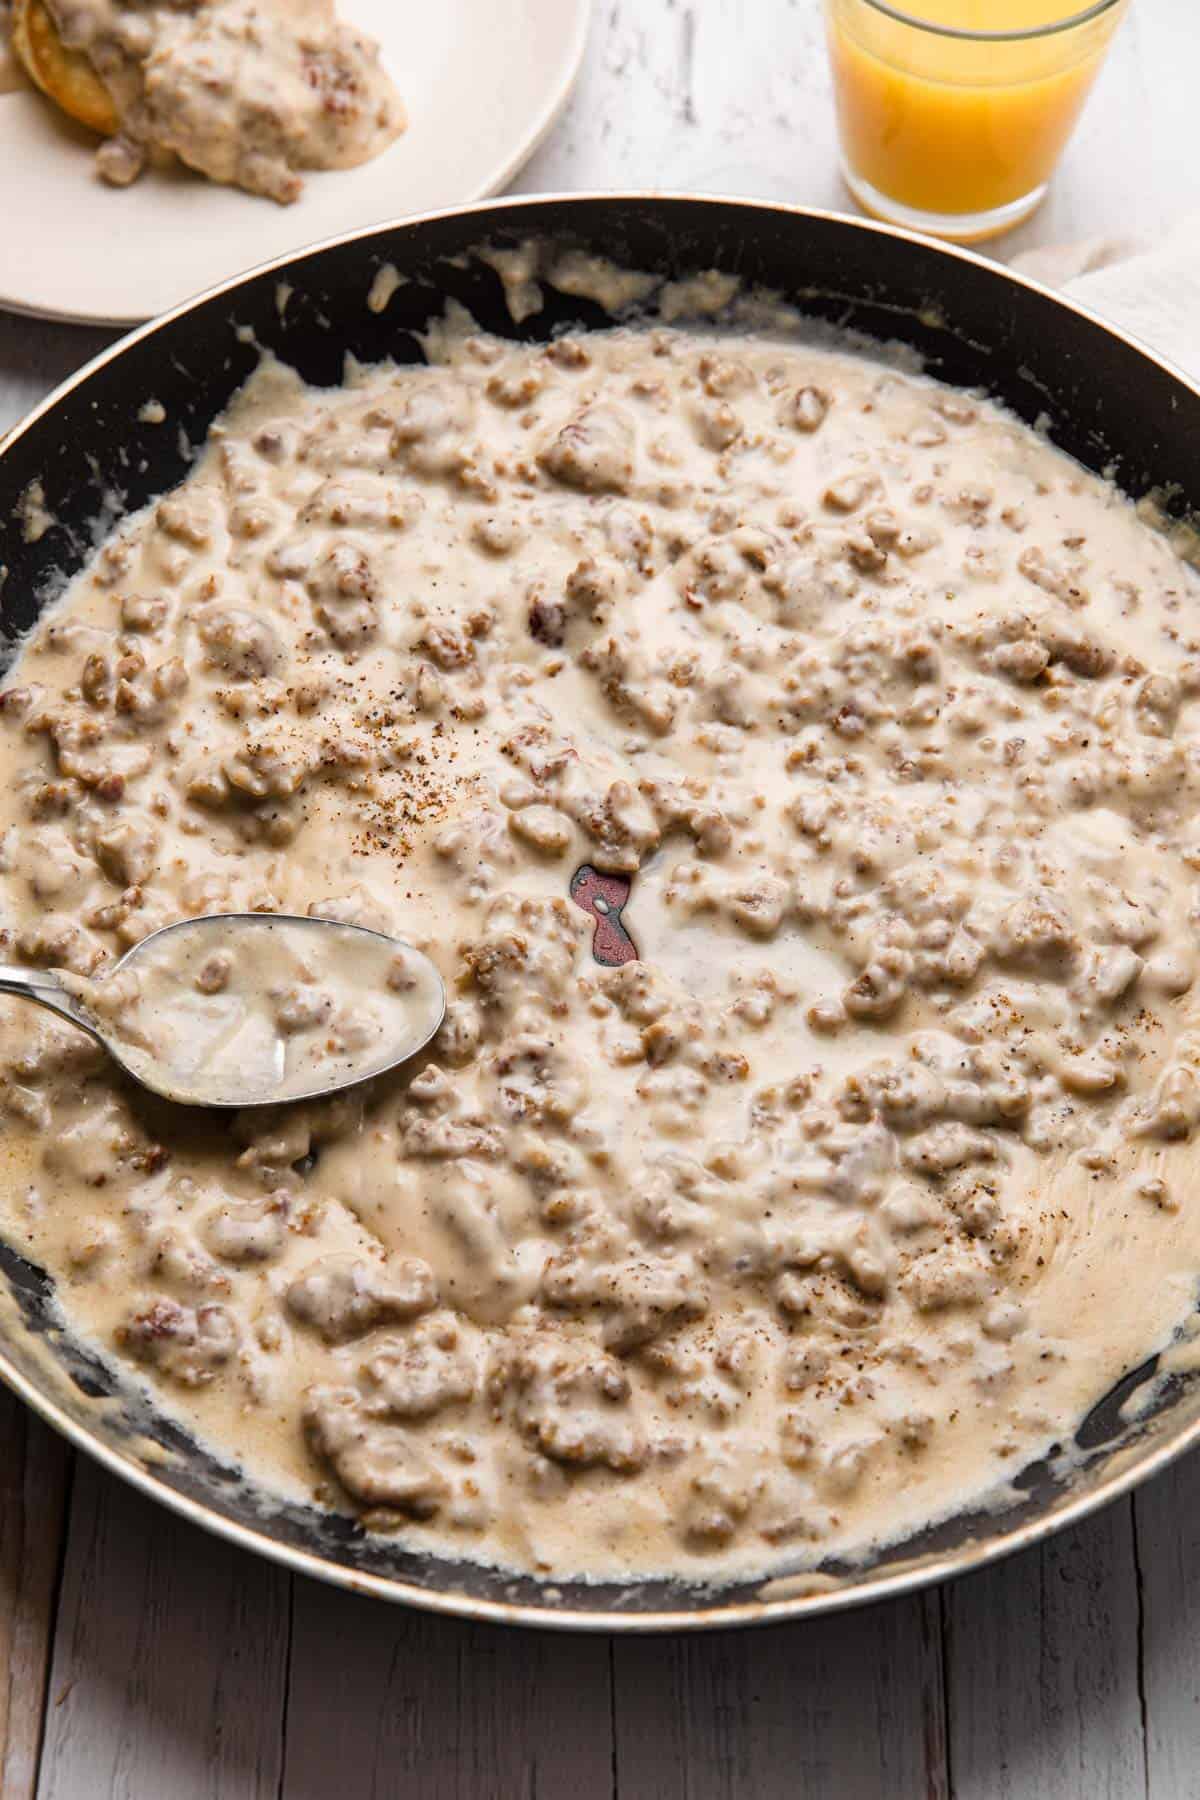
White gravy is simply a thickened sauce made from drippings or butter, flour, milk, and seasonings like salt and black pepper. It's often called "cream gravy" and is sometimes described as being a milk-based gravy or cream-based gravy. It's usually served at breakfast over homemade biscuits, or at dinnertime over mashed potatoes and chicken fried steak.
Continue reading to find out why we don't recommend freezing milk-based gravy.
Tomato gravy and curries are other popular gravies.

Why should I freeze gravy?
Less food waste when large quantities are made and not needed at the time - large family gatherings usually means large quantities of food! It may be tempting to throw leftovers away, but freezing gravy will help prevent all your hard work from going to waste.
Extend shelf life to use at a later date - if you don't plan to use your gravy right away, it's best to store it in the freezer so it can be enjoyed several weeks later.
Saves time - having extra gravy that you've frozen means no time is needed to make a new batch from scratch.
Saves money - less food waste means you won't have to spend new money on a recipe or buy store-bought gravy.
Equipment needed
Step-by-step guide to freeze homemade gravy
Step 1: Cool the gravy completely: Before freezing, make sure your leftover gravy is completely cool. Leaving it at room temperature can cause bacterial growth, which can make the gravy unsafe to eat. Let the gravy cool on the counter for about an hour, then transfer it to the refrigerator to cool completely. This will take a few hours, or overnight, depending on the quantity of gravy.
Step 2: Portion out the gravy: Once your gravy is cool, you'll want to portion it out into smaller amounts. This will make it easier to thaw and reheat later on. You can use freezer-safe containers or freezer bags like Ziploc bags, but make sure to leave some room at the top to allow for expansion during freezing.
Step 3: Label and date the containers: It's important to label and date your containers of gravy so you know what's inside and when you made it. This will help you keep track of what needs to be used up first and ensure you don't end up with any mystery containers of gravy in your freezer.
Step 4: Freeze the gravy: Place the containers of gravy in the freezer, making sure they are in a flat, stable position. If you're using freezer bags, you can freeze them flat on a baking sheet before stacking them in the freezer to save space.
How to freeze gravy in ice cube trays
Step 1: Cool gravy completely.
Step 2: Add gravy into each section of the ice cube tray, leaving a little room at the top for expansion.
Step 3: Loosely cover trays with plastic wrap.
Step 4: Place ice cube trays on a flat surface like a cookie or baking sheet in the freezer.
Step 5: Pop frozen cubes into a freezer safe bag that's been labeled with name and date.
How to thaw and reheat the gravy
To thaw the gravy, simply transfer the container from the freezer to the refrigerator and let it thaw overnight. Once thawed, you can reheat the gravy in a saucepan over medium heat, stirring occasionally until it's heated through. If the gravy is too thick, you can add a splash of water or broth to thin it out.
FAQs and tips
If your gravy contains dairy, we recommend against the freezing process for storage. This is because the milk separates when frozen then thawed and can ruin the texture of your homemade gravy. If you must freeze your cream gravy, do so in smaller portions and for no more than one week, and be aware of the possible consequences.
If frozen properly, gravy can last up the 3 to 4 months in the freezer.
The USDA recommends storing gravy in the refrigerator for 3 or 4 days.
Gravy that is slimy, moldy, discolored or has a bad smell should be tossed and not eaten
Freezing homemade gravy is a great way to reduce waste and a way to always have some on hand for your next meal. By following these tips, you can ensure your frozen gravy maintains its quality and flavor.
Gravy recipes to try
- How to Make Gravy with Bacon Grease
- Hawaiian Brown Gravy
- Southern White Gravy
- Cajun Red Gravy
- Irish Bangers and Mash
- White Sausage Gravy
- Coconut Milk Curry with Chicken
📖 Recipe
Email me the recipe!
Plus get all our new recipes too!
How to Freeze Gravy
Ingredients
- Gravy of choice leftovers or meal prepped
Instructions
- Cool gravy: Before freezing, make sure your leftover gravy is completely cool. Leaving it at room temperature can cause bacterial growth, which can make the gravy unsafe to eat. Let the gravy cool on the counter for about an hour, then transfer it to the refrigerator to cool completely. This will take a few hours, or overnight, depending on the quantity of gravy.
- Portion out the gravy: Once your gravy is cool, you'll want to portion it out into smaller amounts. This will make it easier to thaw and reheat later on. You can use freezer-safe containers or freezer Ziploc bags, but make sure to leave some room at the top to allow for expansion during freezing.
- Label and date the containers: It's important to label and date your containers of gravy so you know what's inside and when you made it. This will help you keep track of what needs to be used up first and ensure you don't end up with any mystery containers of gravy in your freezer.
- Freeze the gravy: Place the containers of gravy in the freezer, making sure they are in a flat, stable position. If you're using freezer bags, you can freeze them flat on a baking sheet before stacking them in the freezer to save space. Gravy can be frozen for up to three months.
How to freeze in ice cube trays
- Cool gravy completely.
- Add gravy into each section of the ice cube tray, leaving a little room at the top for expansion.
- Loosely cover trays with plastic wrap.
- Place ice cube trays on a flat surface like a cookie or baking sheet in the freezer.
- Pop frozen cubes into a freezer safe bag that's been labeled with name and date.
How to Thaw
- To thaw the gravy, simply transfer the container from the freezer to the refrigerator and let it thaw overnight. Once thawed, you can reheat the gravy in a saucepan over medium heat, stirring occasionally until it's heated through. If the gravy is too thick, you can add a splash of water or broth to thin it out.
- Store for up to three months.





Comments
No Comments